A quick-start guide for brand-new users. Follow these steps and you'll be fully set up before your tea goes cold.
Before You Start
You'll need:
An email address
Basic details about your rental property (address, how much rent you charge)
To know whether you're an individual landlord, a joint owner, a sole trader, or a company (don't worry, we'll help you figure this out, when selecting a plan that’s right for you)
That's it. No HMRC login needed yet, no bank details required upfront, and no paperwork to dig out.
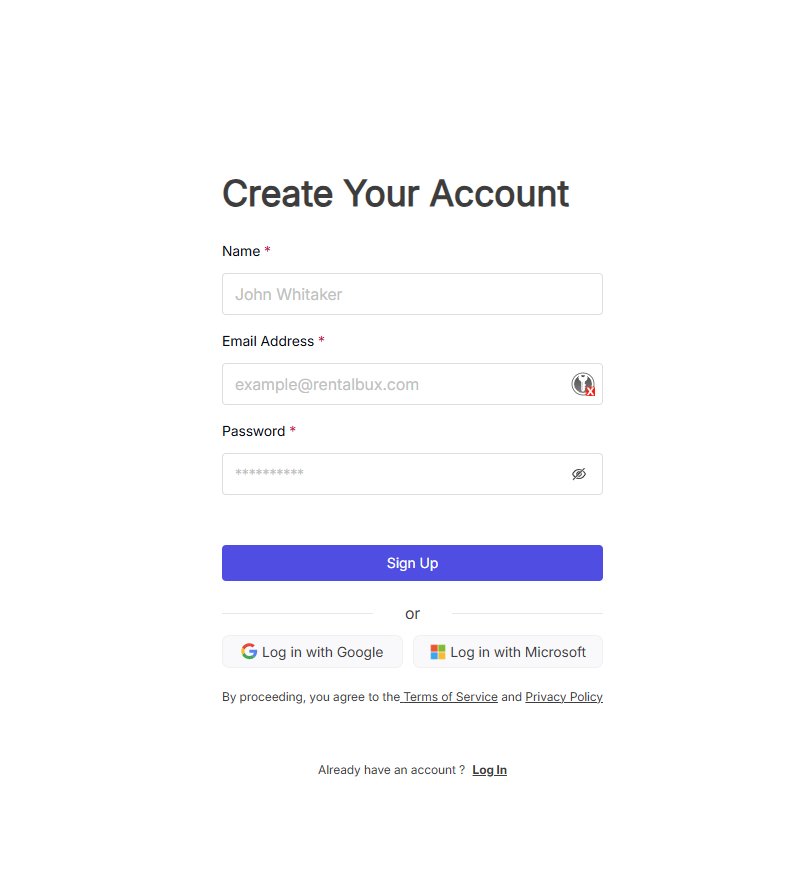
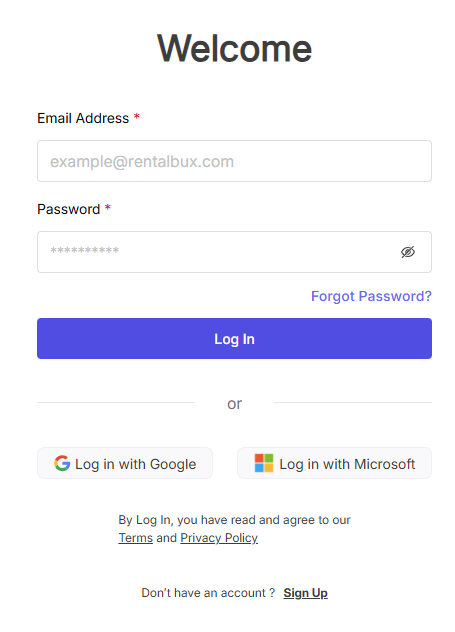
Step 1: Sign Up and Verify Your Email (Under 1 minute)
Go to rentalbux.com and click Get Started or Sign Up. Enter your name, email address, and choose a password. Click on Log In.
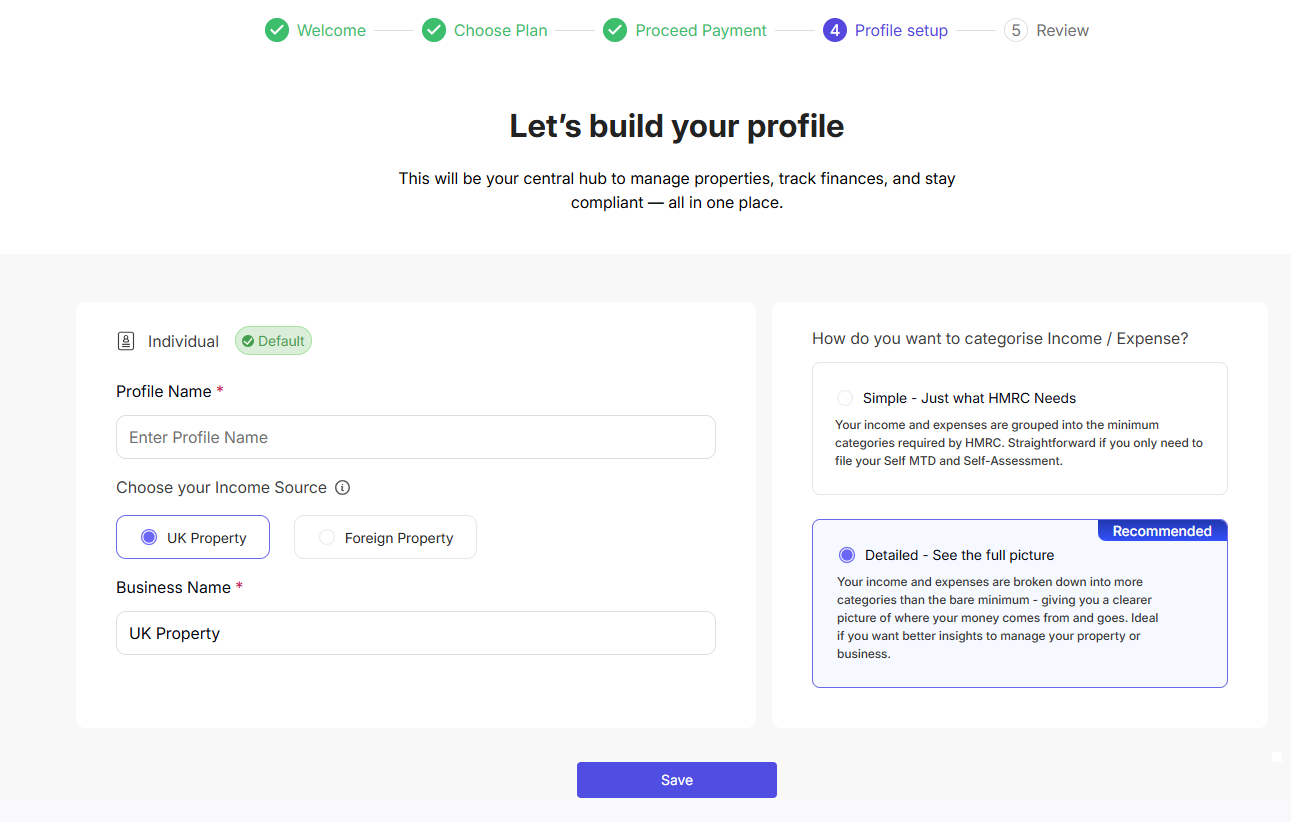
Step 2: Complete Your Profile (2 minutes)
RentalBux needs to know a few things about you to set up your account correctly. Follow the setup prompt on your dashboard. You'll be asked to:
Choose a Profile Name, Select Income Source you have, and select income/expenses categorisation. Detailed Categorisation is recommended by RentalBux.
Step 3: Add Your First Property (2 minutes)
Click MY property from the sidebar, then click on Add Property.
Enter:
The property Name, type address, number of units within and other required details
Edit or customise individual units
Ownership percentage (100% if you own it alone, or the correct split if jointly owned)
Mortgage Details, if any
Compliance Documents for each property
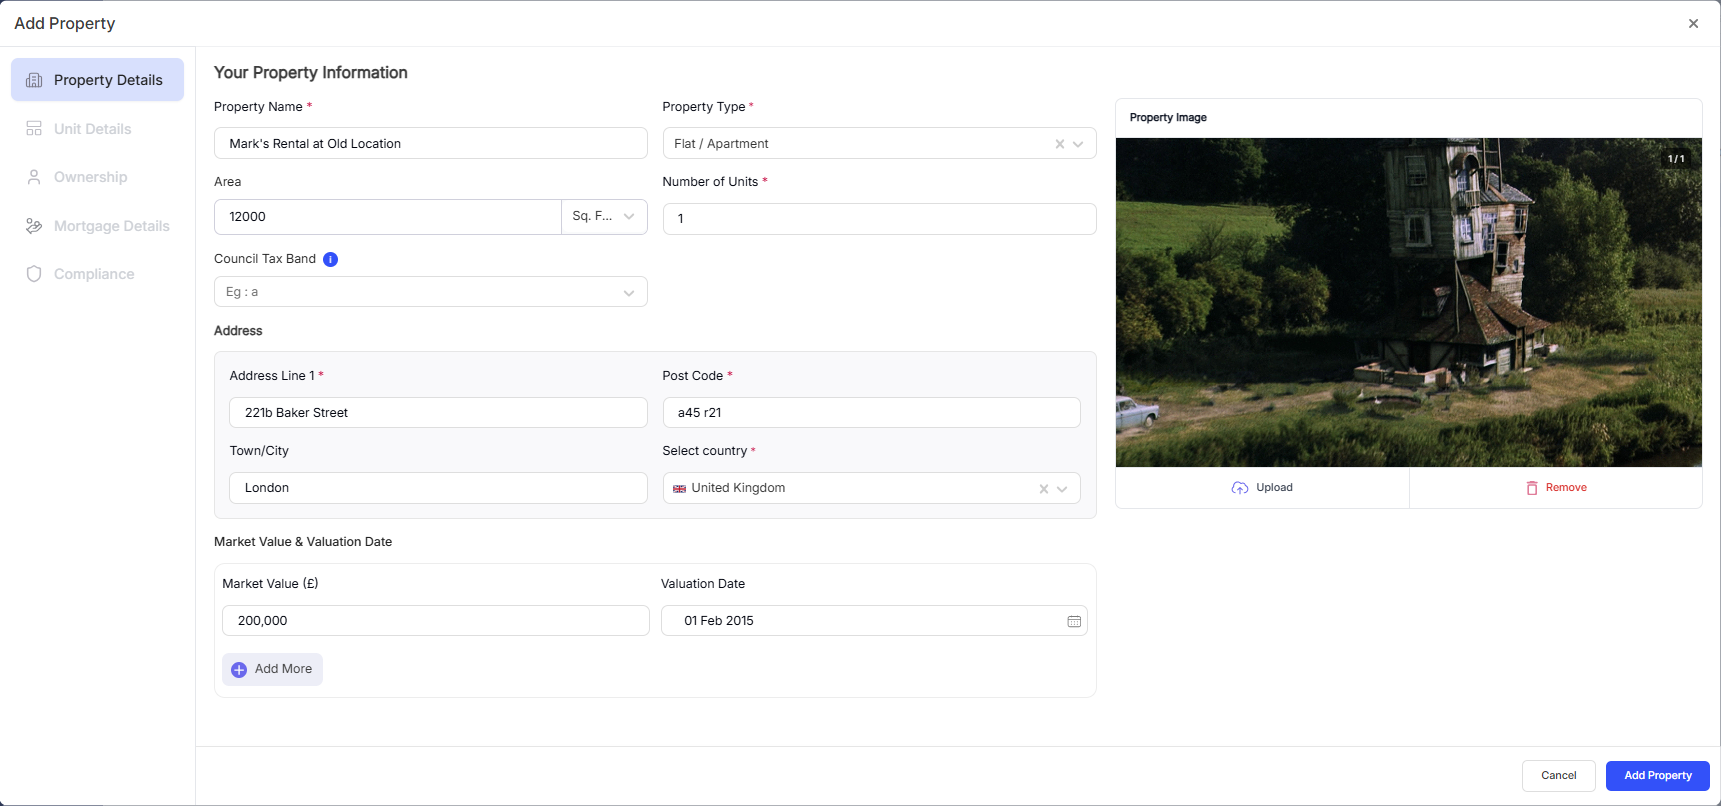
Click Add Property. Your property now appears on your dashboard and is ready for income and expense tracking.
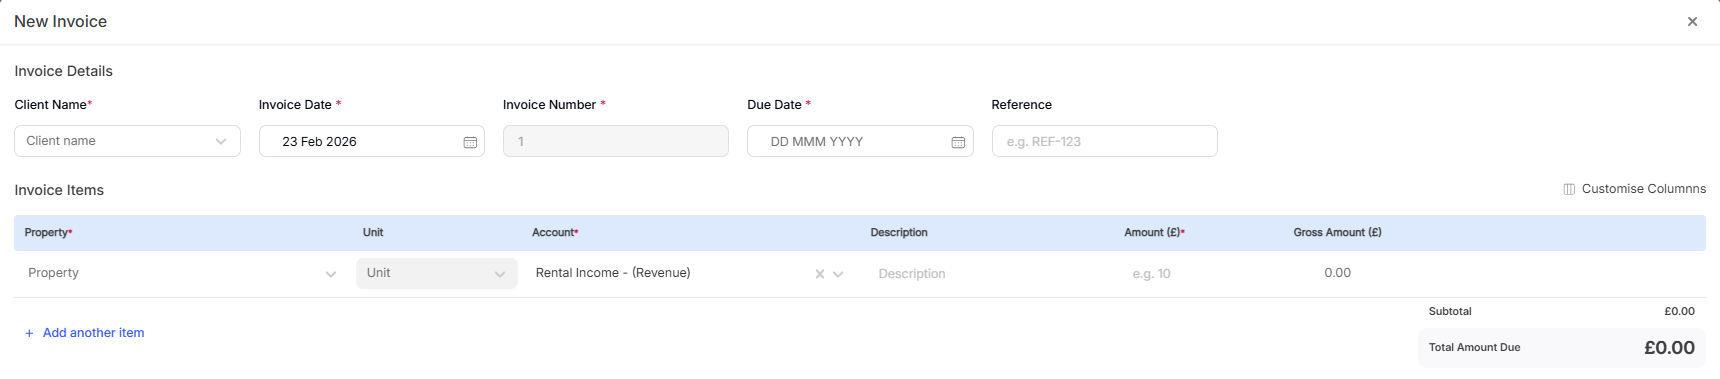
Step 4: Create Your First Rent Invoice (2 minutes)
Go to the Accounting module. select Invoices and Bills and click on Add Invoice.
Select the Client name, property details, due date, amount and other fields as required
Choose the income category
Click Save and Close.
Step 5: Check Your Dashboard (1 minute)
Go back to your dashboard. You should now see:
Your property listed in the portfolio
Your first invoice showing as outstanding or upcoming
Your profile completion tracker updated (you might be at 60–80% complete depending on what you've entered)
Your MTD status showing your next quarterly period
If anything's missing, the profile completion tracker will tell you what still needs doing.
Step 6: What to Do Next (2 minutes)
Your basic setup is done. Here's what to tackle over the next few days:
Connect to HMRC — link your Government Gateway account so you can submit MTD returns. See: Connecting to HMRC — Step-by-Step with Screenshots
Link your bank account — set up bank feeds or prepare to upload CSV statements. See: Importing Bank Statements (CSV & Auto-Import)
Upload compliance documents — add your EPC, gas safety certificate, and other documents. See: Uploading Compliance Documents
Add tenant details — flesh out your tenancy records with full tenant information. See: Adding a Tenancy Record
Install the mobile app — download RentalBux on your phone for receipt scanning and on-the-go access. See: Installing the RentalBux Mobile App
Printable Checklist |
|---|
Here's your setup checklist — tick off each step as you go:
|
Stuck?
If anything doesn't make sense or you can't find a particular screen, you can book a free demo and someone from the RentalBux team will walk you through it personally.
Related Guides: |