Your property is the foundation of everything in RentalBux. Here's how to add it, step by step, with screenshots of what to expect.

Before You Start
You'll need:
The full address and postcode of your rental property
To know whether it's residential, commercial, or an HMO (House in Multiple Occupation)
Your ownership percentage (100% if you're the sole owner)
Whether a letting agent manages the property
All of this should be information you already have — no digging around required.
Step-by-Step: Adding a Property
Step 1: Navigate to the Property Section
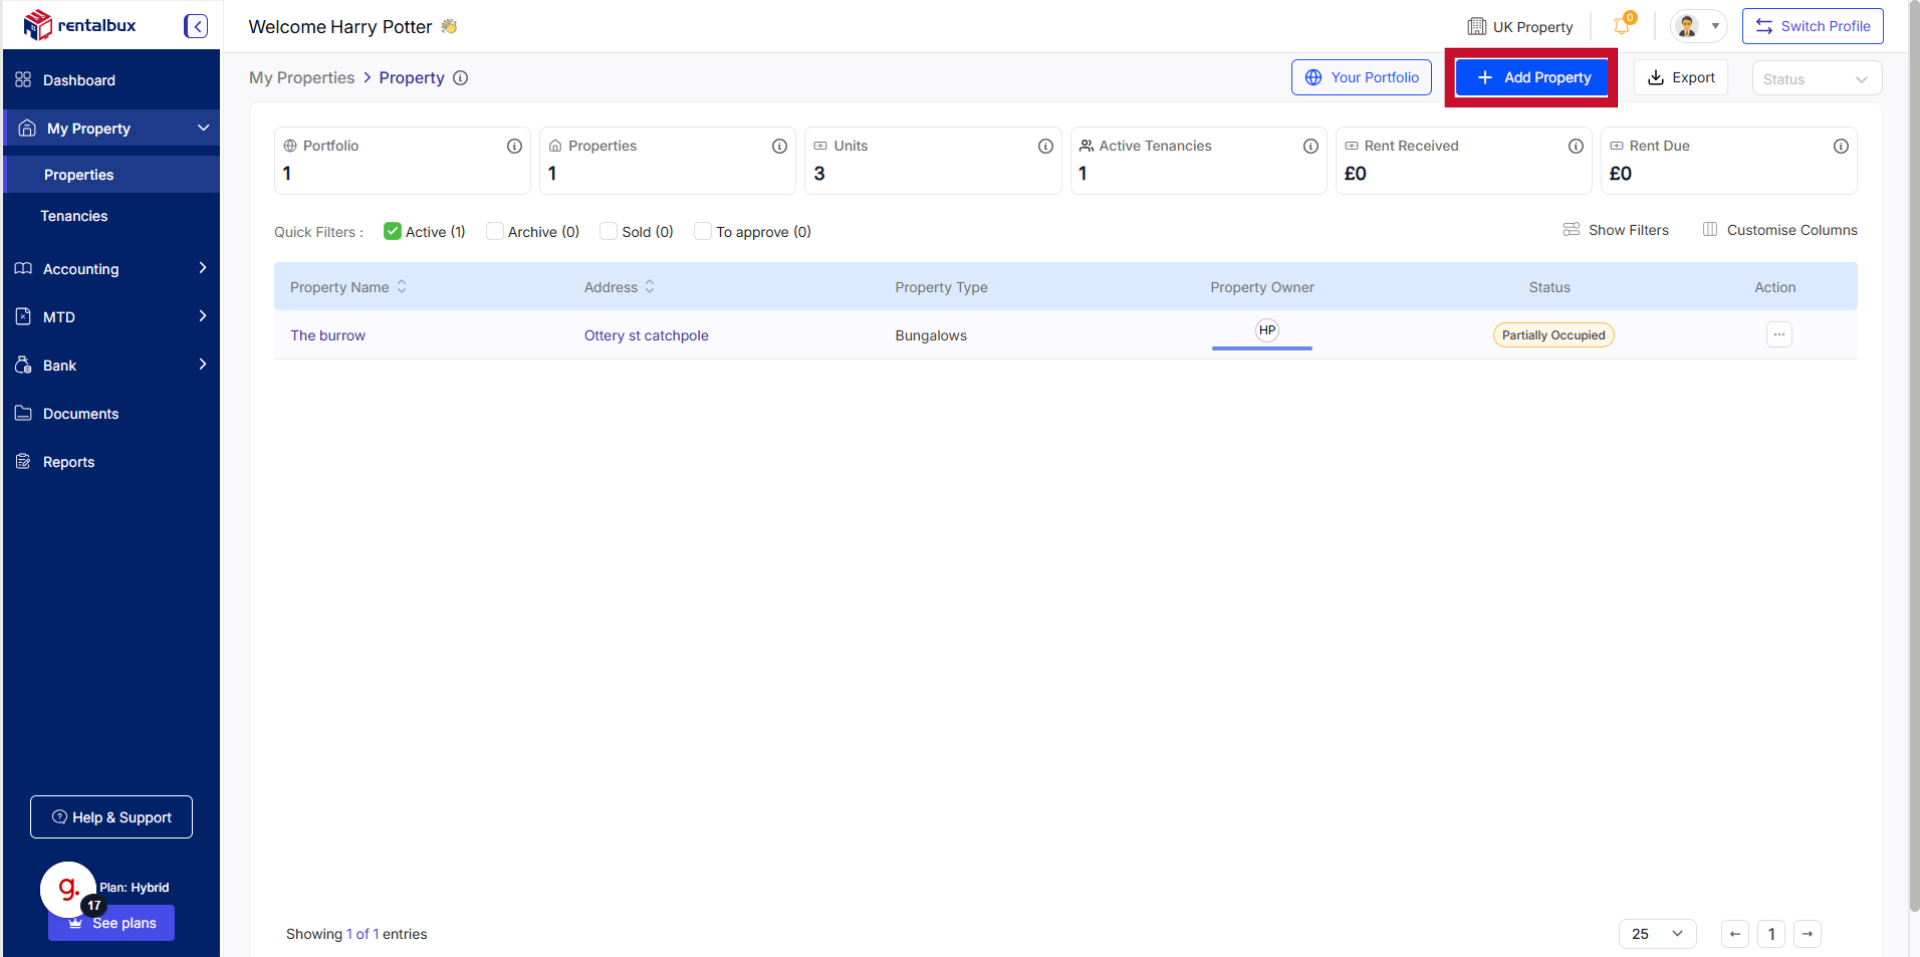
From your dashboard, click My Property in the main navigation menu. This is where all your properties are managed.
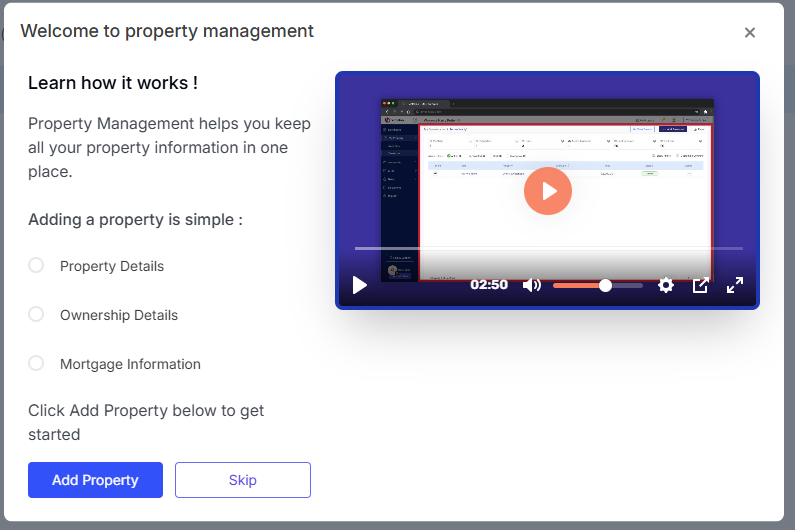
If this is your first time here, you'll see a welcome screen saying ‘Welcome to Property Management’ with a video guide and button saying Add Property. Click it.
If you already have properties listed, click the Add Property button in the top right corner.
Step 2: Enter the Property Details
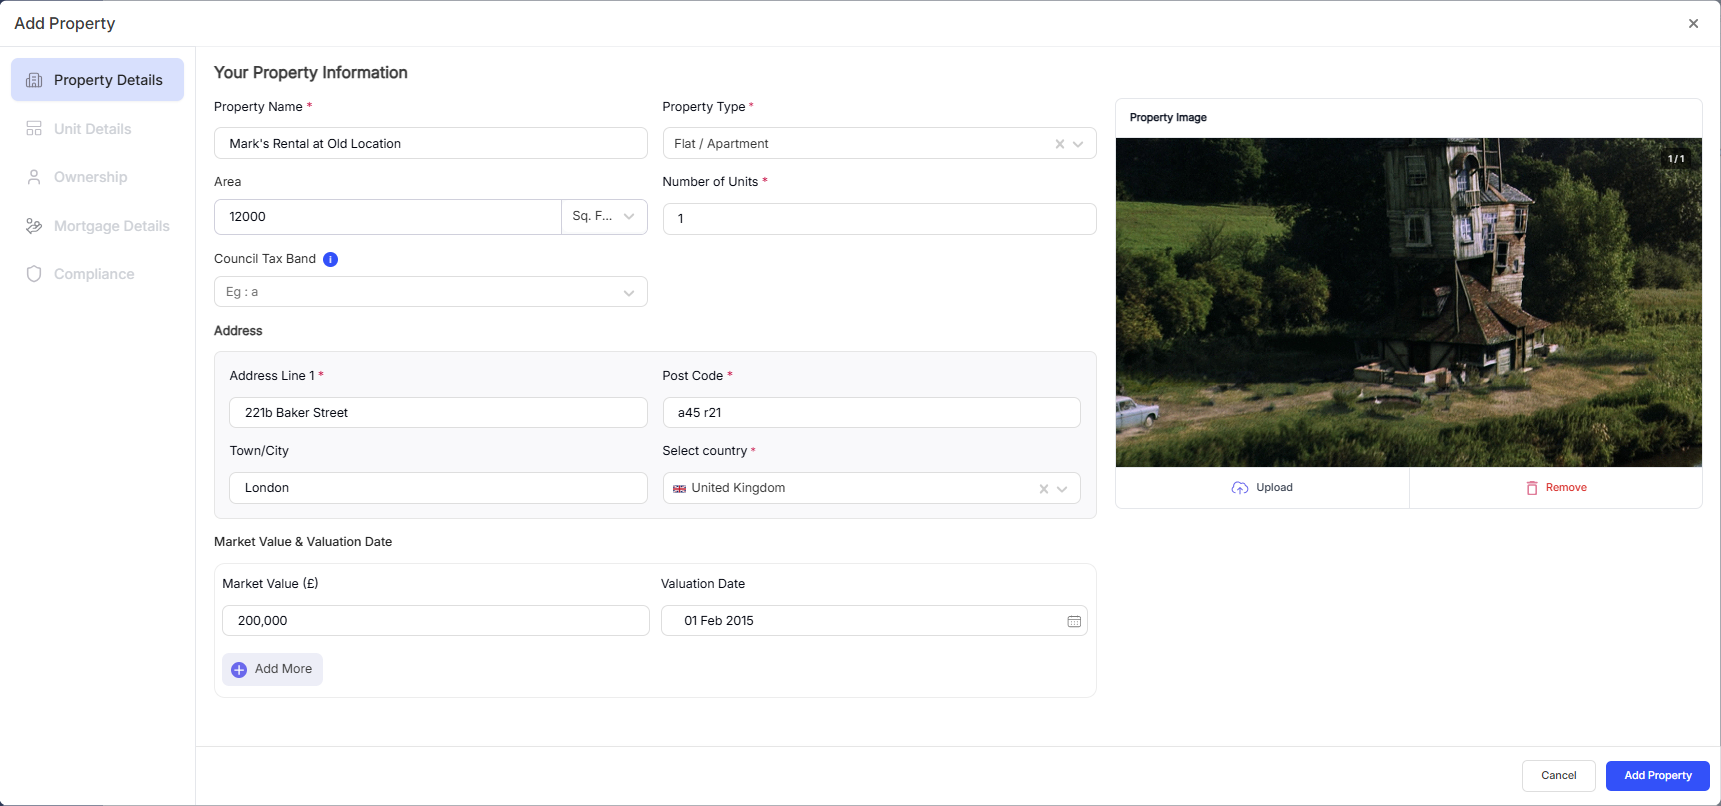
Type in the name, full address, and other details of your rental property, including the postcode. RentalBux may offer address suggestions as you type — select the correct one if it appears, or enter the address manually.
Getting the address right matters because it's linked to your MTD submissions and needs to match your records with HMRC.
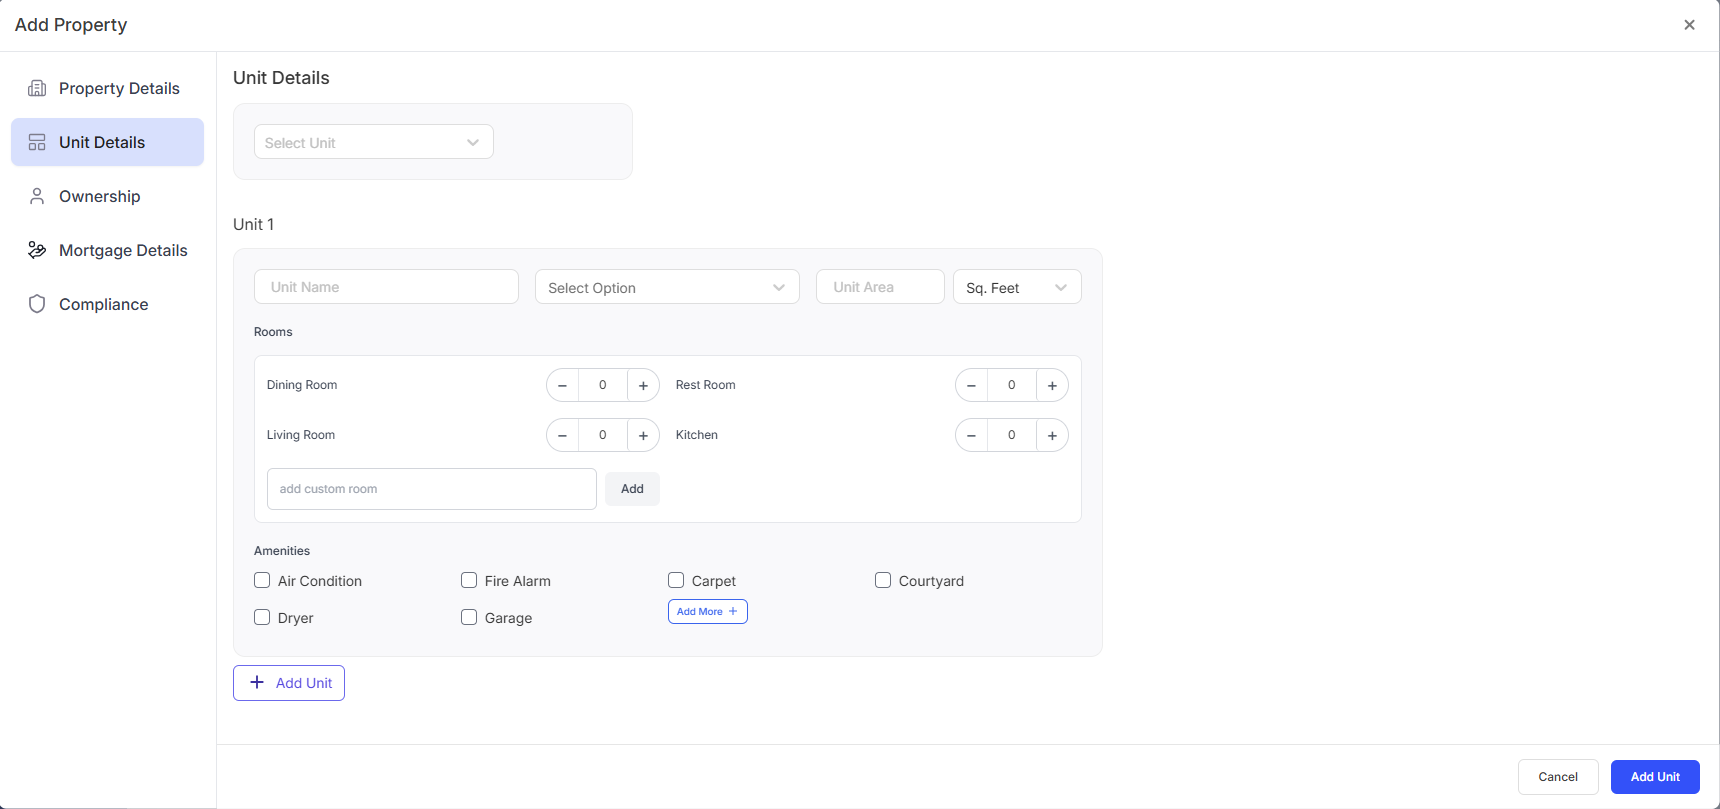
Step 3: Edit the Unit Details
Choose from:
Existing Units or add a unit
Update unit name, room details and amenities
The property unit affects your subscription. Add actual units based on your properties.
Step 4: Set Your Ownership Percentage
If you're the sole owner, this is simply 100%.
If you own the property with someone else (a spouse, partner, or co-investor), enter your percentage share — for example, 50%, 60%, 75%, or whatever reflects your actual ownership.
This is important because RentalBux uses this percentage to calculate your share of the income and expenses for tax purposes. If you need to set up a co-owner, see the guide: Setting Up Joint Ownership & Configuring Profit Splits.

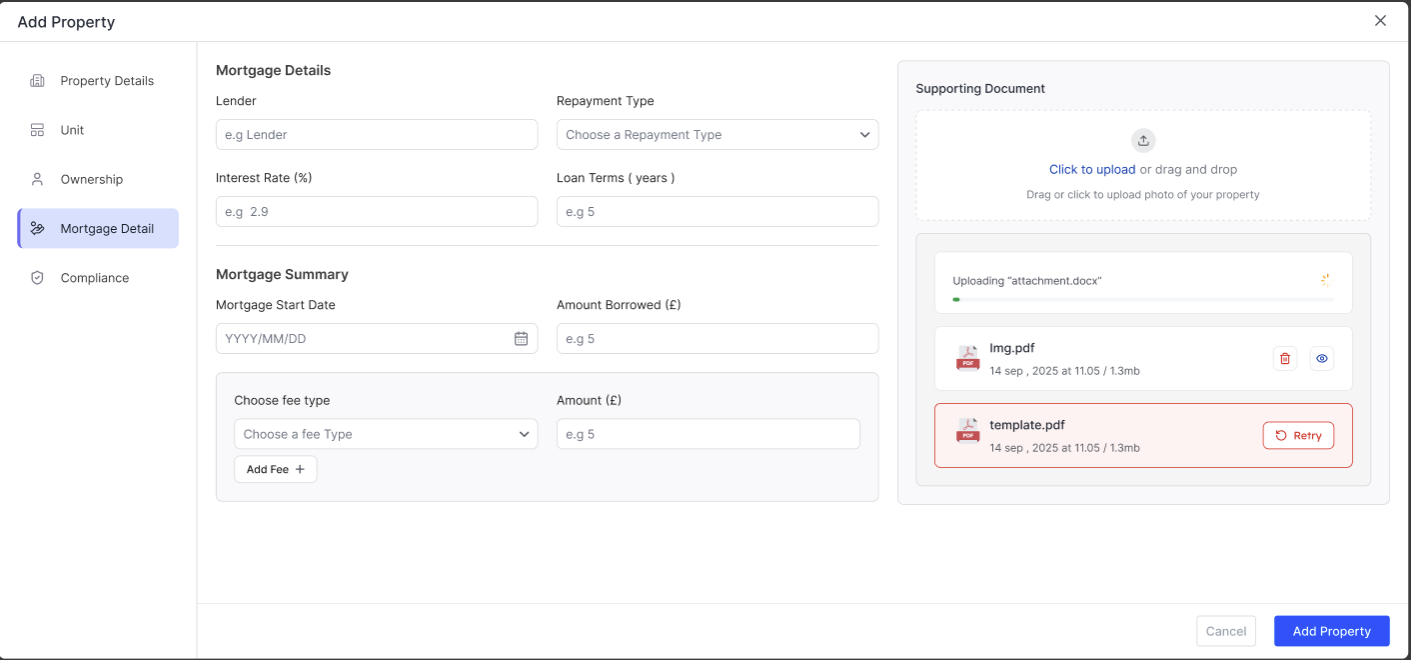
Step 5: Add Mortgage Details
The Mortgage Details section allows you to enter and manage financing information for a property. This information is used to track loan balances, monthly payments, and overall investment performance. If you manage the property yourself, skip this step.
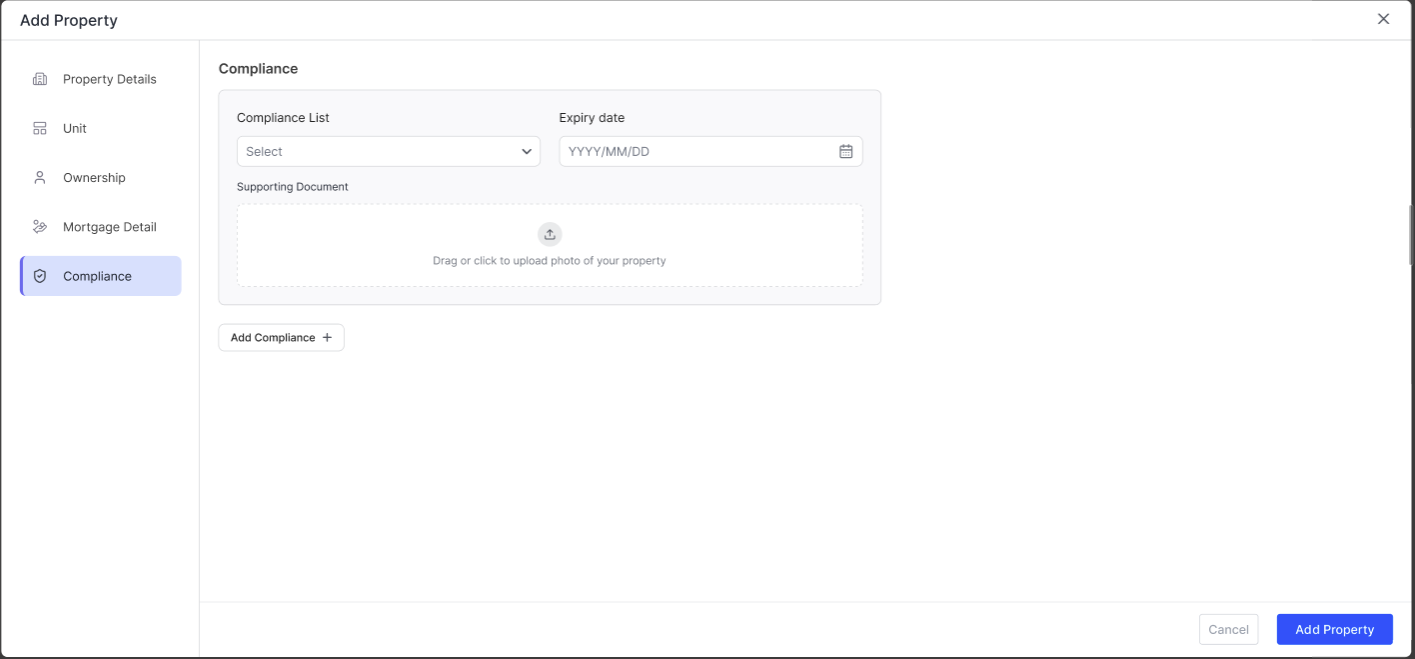
Step 6: Compliance
Add any compliance document from the list available or add a new one. Get reminders before they expire, so that you stay compliant.
Take a moment to confirm all the details look correct. You can edit any of these later by clicking on the action button on the property and selecting Edit.
What Happens Next
Once your property is added:
You can start creating rent invoices for it
You can log expenses against it
Any bank transactions can be assigned to it
Compliance documents can be uploaded to its profile
Your MTD calculations will include this property's income and expenses
If you have more than one property, repeat the process for each one. There's no limit on the number of properties you can have (just addon property units from the subscription section).
Common Questions
Related Guides: |