Setting up RentalBux for the first time takes about 10 minutes if you follow the steps in order. By the end, you'll have a fully configured account, your first property added, your bank connected, and your HMRC link in place — ready to record transactions and file your first quarterly MTD update when the time comes.
Choose the setup path that matches your situation, then follow the checklist below.
Step 1 — Choose your setup path
Your situation | Your path | Approx. time |
|---|---|---|
Single property landlord, UK only | Path A | ~10 minutes |
Multiple properties, UK and/or jointly owned | Path B | ~15 minutes |
Self-employed only (no rental income) | Path C | ~10 minutes |
Both landlord AND self-employed | Path D | ~15 minutes |
Non-UK resident or overseas properties | Path E | ~10 minutes |
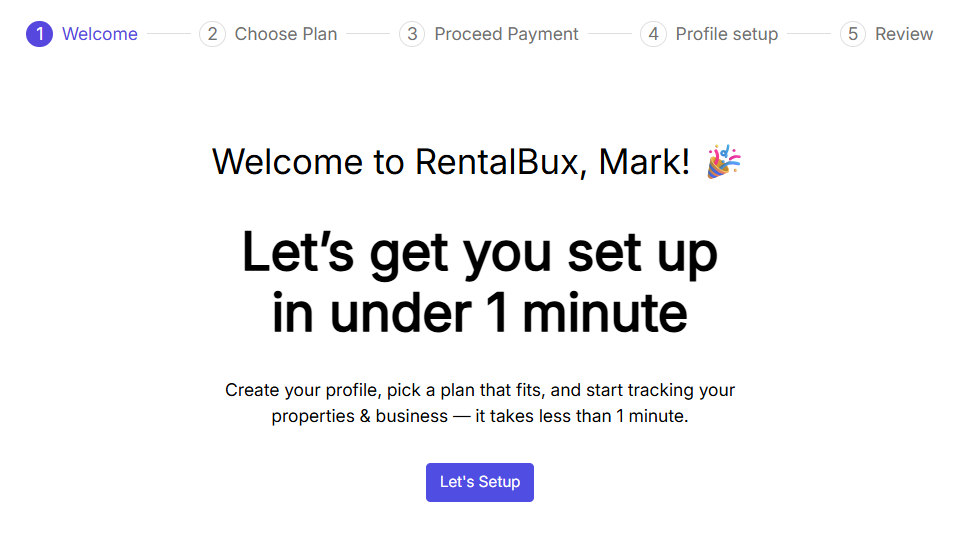
Step 2 — Create your profile
When you first log in, RentalBux asks you to set up a Profile. This is your personal accounting environment — everything you do in RentalBux lives inside it.
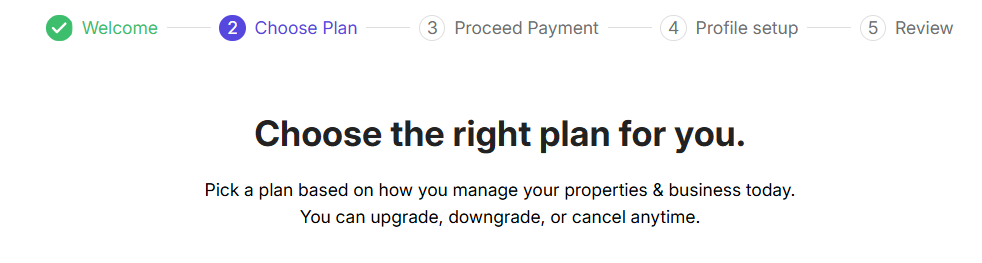
Select Your Desired Subscription Plan
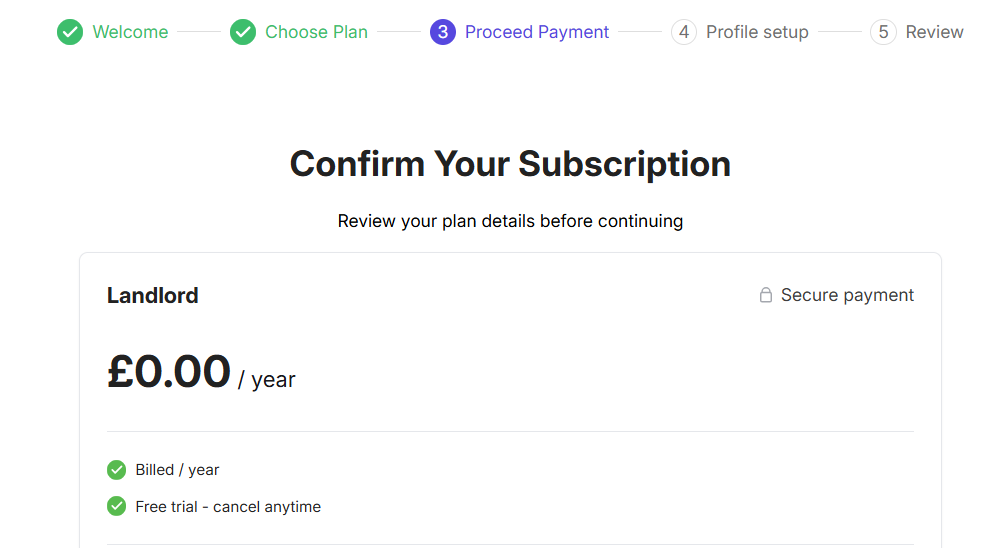
Confirm your plan
Setting Up Your Profile and Categorising Your Income & Expenses in RentalBux
Enter your desired Profile name, choose your income source, give a custom business name if required, and finally select the categorisation method. This is how your income and expenses are categorised in the RentalBux system. We recommend the Detailed category.
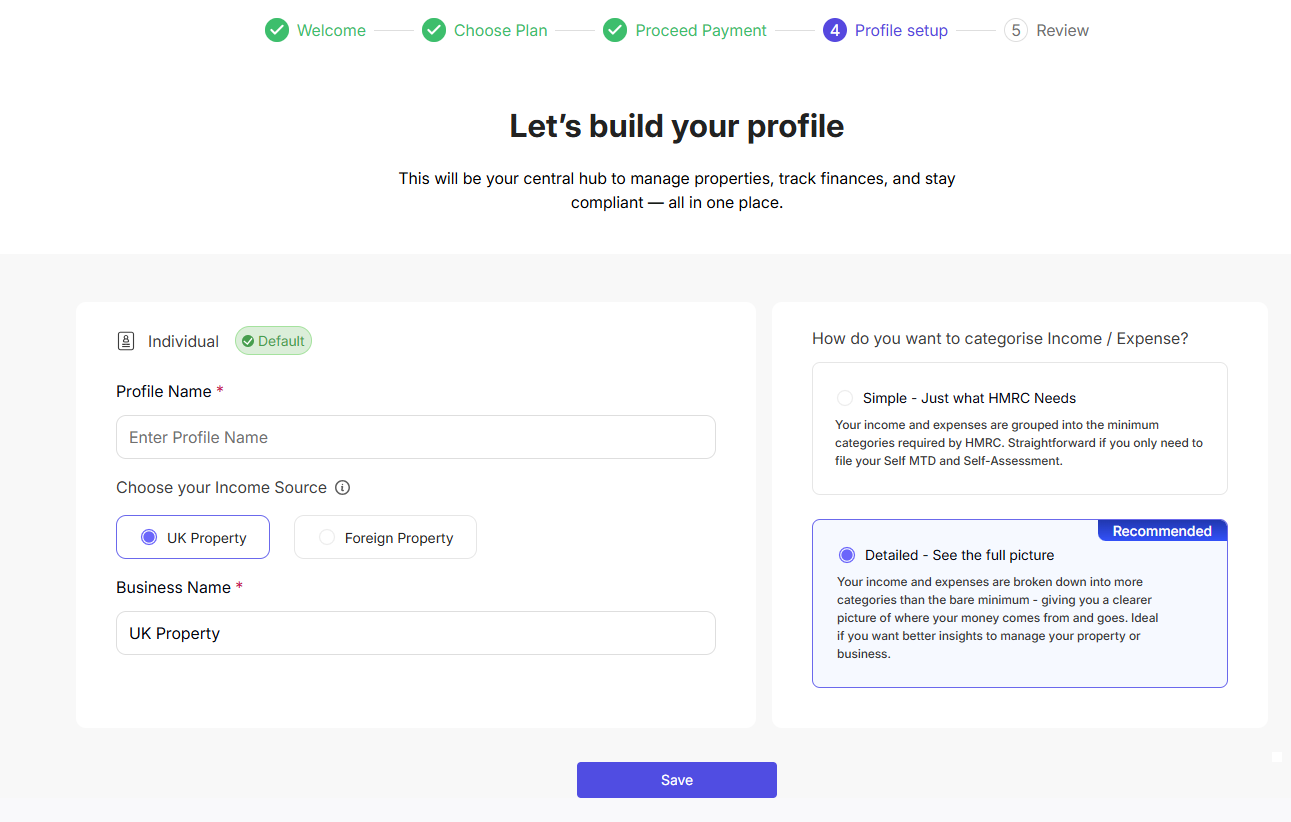
Click Save Profile and Continue to Dashboard
Step 3 — Add your income sources
Income sources tell RentalBux what kinds of income you earn, so it can prepare the right MTD submissions for you. You select one when creating your profile in the earlier step, and add more if required.
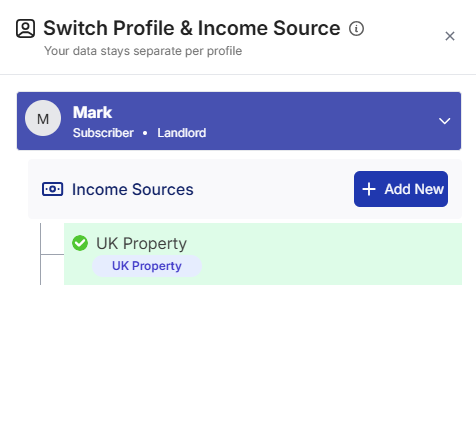
UK Property — for residential or commercial rental income from UK properties
Foreign Property — for rental income from properties outside the UK
Sole Trader — for self-employment income from any trade, profession, or business
Add all that apply to you. A landlord-contractor who rents out two UK properties would add both UK Property and Sole Trader. You can add more income sources later if your situation changes.
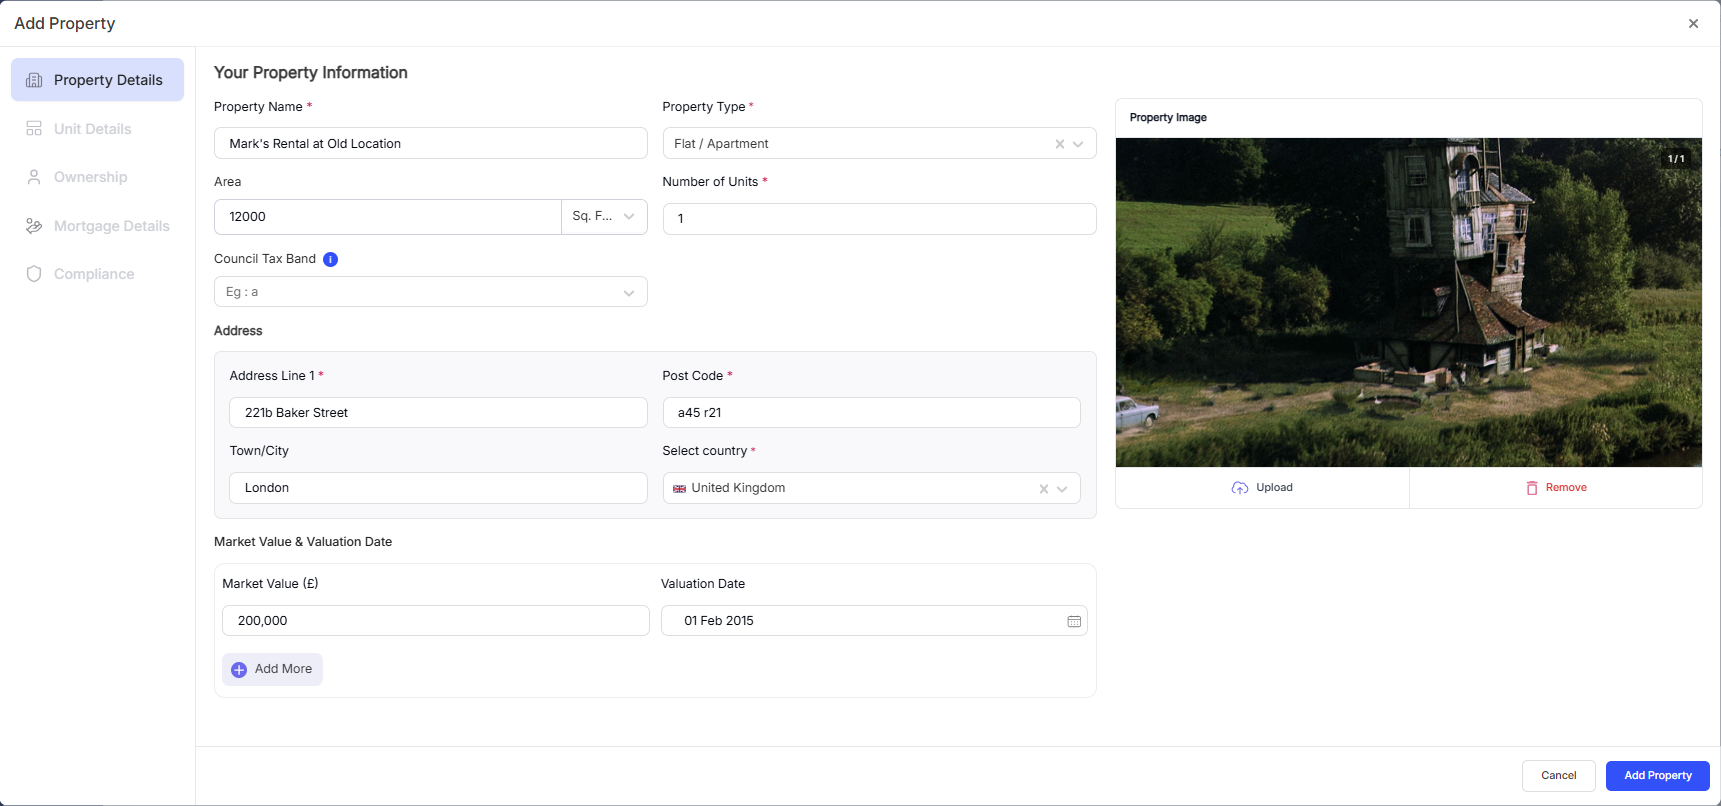
Step 4 — Add your property (or business)
For each property income source, add at least one property:
Go to My Property > Properties > Add New Property
Enter the property name (e.g. '14 Oak Street') and full address
Select the property type (detached, semi-detached, terraced, flat, others, etc.)
Then edit or add Units Details if needed — each lettable unit within the property (most standard buy-to-lets have one unit)
If the property is jointly owned, go to the Ownership tab and add each co-owner with their percentage share
Add mortgage details if you have a buy-to-let mortgage on the property
Save the property
Step 5 — Connect your bank account
Connecting your bank means RentalBux can automatically pull in your transactions, saving you hours of manual entry and ensuring your records are always up to date.
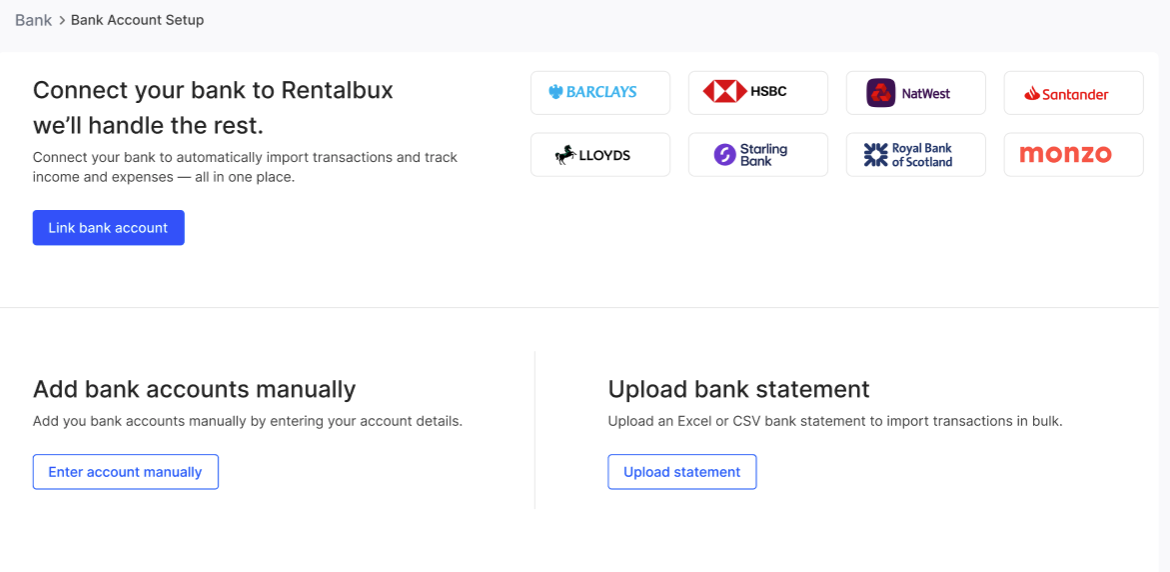
You have two options:
Automatic (Open Banking)
Connect securely using Open Banking. RentalBux imports new transactions whenever synced. Your bank credentials are never stored by RentalBux. Supported banks include Barclays, Lloyds, HSBC, NatWest, Santander, Nationwide, Monzo, Starling, and most UK banks and building societies.
Manual (CSV or Excel upload)
Download a statement from your bank and upload it to RentalBux. Useful if your bank isn't supported for Open Banking, or if you prefer to control exactly what's imported.
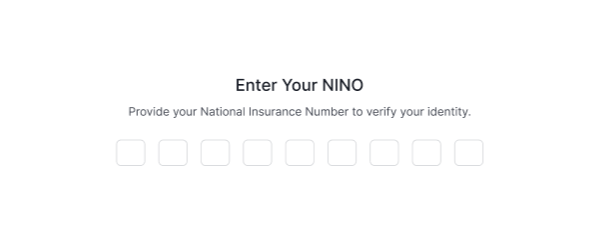
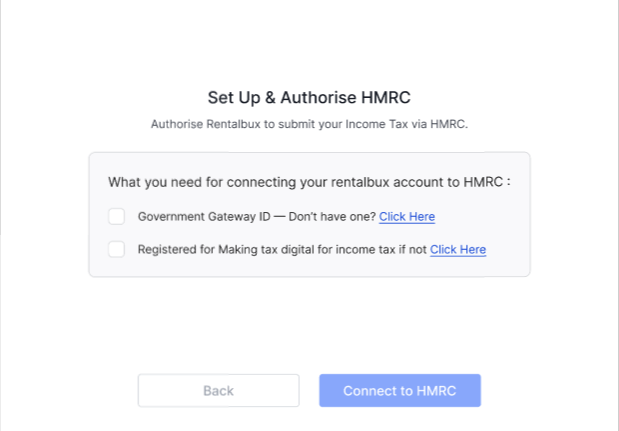
Step 6 — Connect to HMRC
This is the step that makes your quarterly MTD submissions possible. You'll need your HMRC Government Gateway user ID and password.
Go to MTD > Setup
Enter your National Insurance Number (NINO)
Click Continue and then Authorise with HMRC. You'll be redirected to the HMRC Government Gateway, if you have government gateway ID and are registered for Making Tax Digital for income tax. If, you don’t have any of those, you can follow the link to obtain one
Sign in with your Government Gateway credentials and grant RentalBux permission to submit on your behalf
You'll be redirected back to RentalBux. Your connection status will show as Active
Your setup checklist
Step | Task | Done? |
|---|---|---|
1 | Created profile with Detailed Categorisation selected | ☐ |
2 | Added all relevant income sources (UK Property, Foreign Property, Sole Trader) | ☐ |
3 | Added at least one property with address, type, and ownership details | ☐ |
4 | Added units to the property | ☐ |
5 | Connected bank account (auto or manual) | ☐ |
6 | Connected to HMRC via Government Gateway | ☐ |
What to do next
Once setup is complete, spend a few minutes exploring:
Create your first rent invoice (Accounting>Invoices and Bills > Create New Invoice) and see how it appears in your accounting records

Scan your first receipt using the mobile app or using the OCR button on the website — snap a photo of any recent expense and watch RentalBux extract the details automatically
Review your dashboard — check what the income, expense, and MTD deadline widgets are showing you
Invite your accountant if you have one (Settings > User Management > Add Users > Select Accountant Role)
Switching from spreadsheets
If you've been managing your finances in Excel or Google Sheets, switching to RentalBux is straightforward:
Export your existing records from your spreadsheet as a CSV file
Use the Opening Balance function (Settings > Accounting > Initial Opening Balance) to enter your current financial position — assets, liabilities, and any outstanding invoices.
Upload historical bank statements to bring your records up to date
From that point, all new transactions flow through RentalBux automatically
⚠️ Important:
Spreadsheets cannot submit MTD updates to HMRC and will not be compliant after April 2026. The sooner you make the switch, the more comfortable you'll be with quarterly reporting when your deadline arrives.
Related Guides: |