.jpg&w=64&q=75)
.jpg)

An import puts a period of transactions into an account in one step. Use it for manual accounts, for history from before a feed started, or for an account whose bank cannot connect.
Before you start
A statement downloaded from your bank as XLSX or CSV.
The account it belongs to, already in RentalBux.
A quick look at the file: it needs a date, an amount and a description in some form.
Steps
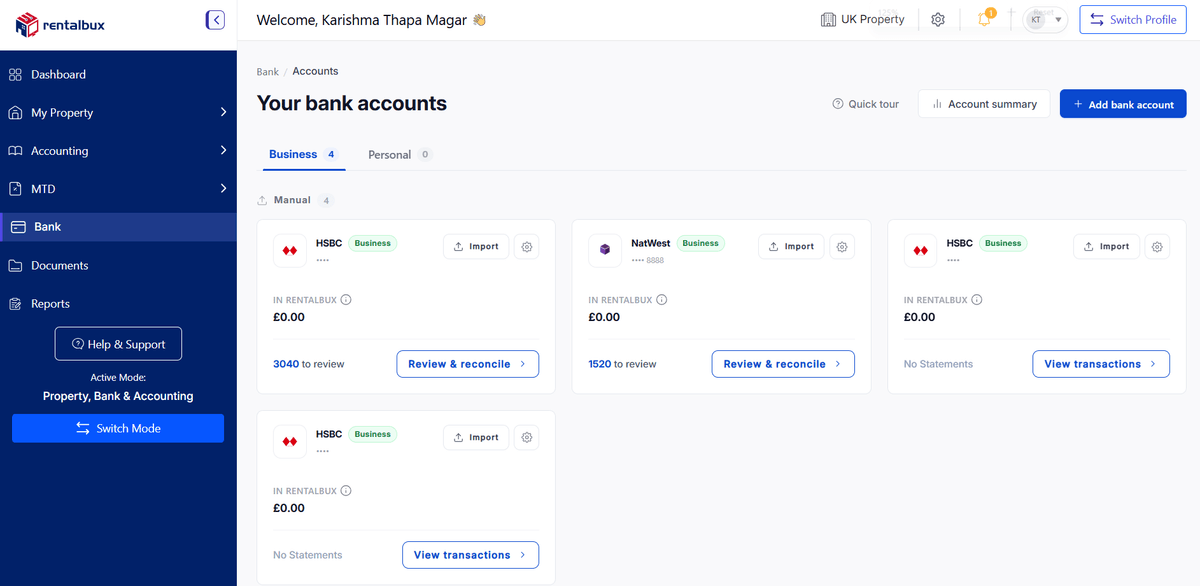
Navigate to the Banking module and select the account you want to import the statement for. If you have multiple accounts, make sure to choose the correct one from the list.
Click the "Import" button on the account card. This will open the Import Bank Statement wizard.
In Step 1 (Upload), drag and drop your XLSX or CSV bank statement file onto the upload area, or click "Browse to upload" to select the file from your computer. The accepted file formats (XLSX and CSV) are displayed. You can also download a pre-formatted XLSX or CSV template to ensure your file has the required column structure.
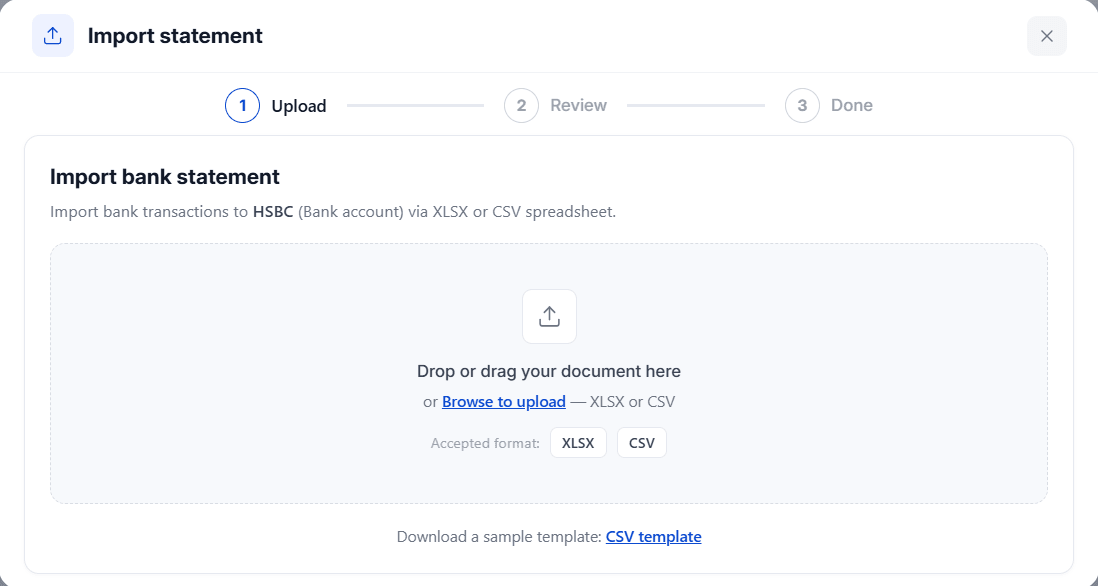
Once the file is uploaded successfully, click "Continue" to proceed to Step 2 (Map columns).
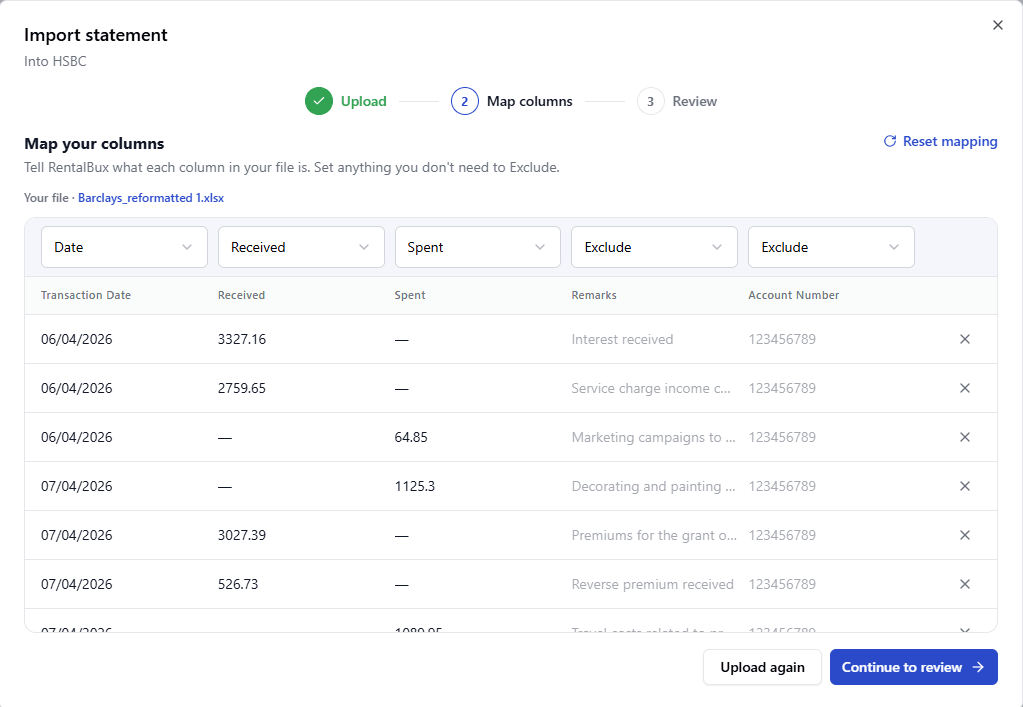
In the Map columns step, RentalBux will attempt to automatically map the columns from your file to the standard RentalBux transaction fields like Date, Received, Spent, and Description. Review the mapping and adjust if needed using the dropdown selectors. Set any columns you don't need to "Exclude". Click "Reset mapping" if you need to start over.
After confirming the column mapping is correct, click "Continue to review". This will take you to the final Review step.
The Review screen will show a preview of the transactions that will be imported, with a count of the number of transactions that passed validation and are ready to import (Success) and the number that have data errors (Failed).
Carefully check the preview for any transactions flagged as possible duplicates. RentalBux will detect if any rows look like transactions already in the system to prevent double-entry. Uncheck any flagged rows you don't want to import.
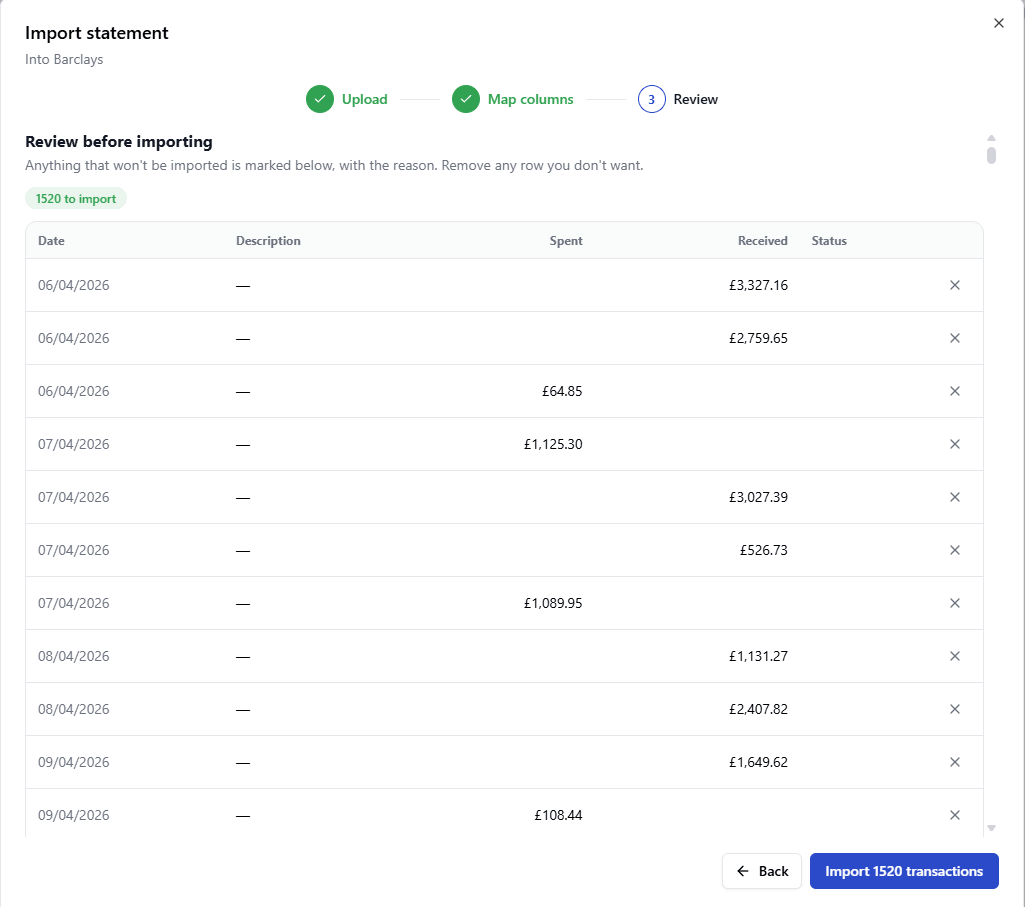
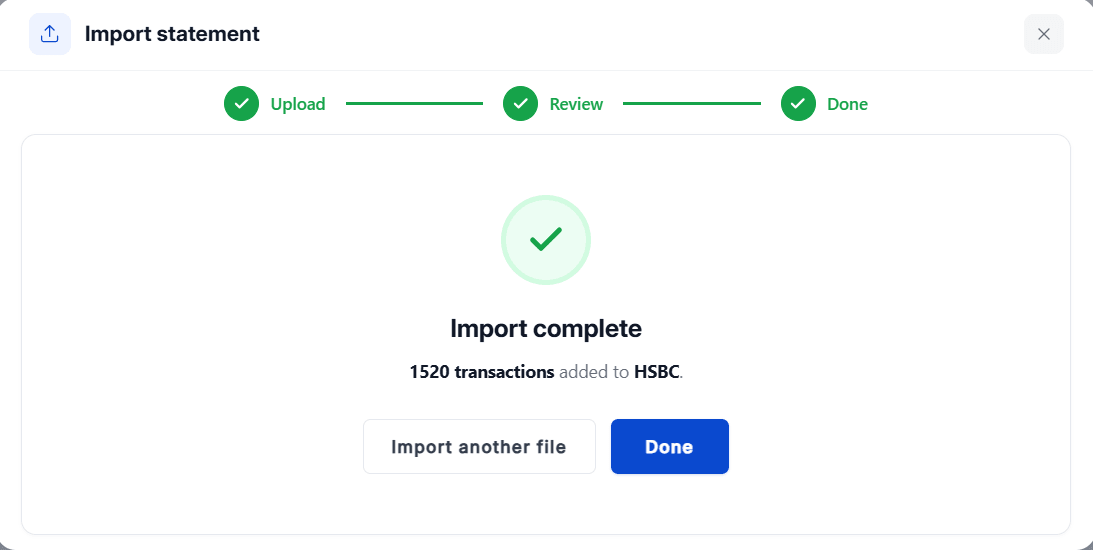
If everything looks correct, click "Import 1520 transactions" to complete the import. The transactions will be added to the selected account as unreconciled entries, ready for matching.
The Columns RentalBux Needs
Field | What it is | Notes |
|---|---|---|
Transaction date | The date on the statement | Set the format explicitly — see below |
Description | Whatever your bank wrote | This is what bank rules read |
Received | Money in | Some banks use one signed column instead |
Spent | Money out | Map the signed column to the right field if there is only one |
Statement code | Your bank’s reference | Optional, but useful for tracing |
Not sure how the file should look? Download the XLSX template or CSV template from the import screen and paste your rows into it.
Date Formats
The single most common import problem is a date read in the wrong order. Set it deliberately at the mapping step.
In the file | Means | If mapped wrongly |
|---|---|---|
07/08/2026 | 7 August 2026 (UK) | — |
08/07/2026 | 7 August 2026 (US order) | Read as 8 July — a month out |
2026-08-07 | 7 August 2026 (ISO) | — |
Duplicates
RentalBux flags rows that look like transactions you already hold, so a re-import does not double your figures. Untick anything flagged that you do not want, then import. On feed accounts, transactions from the coverage start date onward are recognised automatically and never imported twice.
If the File Will Not Read
Upload failed means the file could not be parsed check it is a valid XLSX or CSV and try again, or use Choose another file.
Open the file and delete anything above the header row: bank logos, address blocks and summary lines confuse the header detection.
A statement exported as PDF cannot be imported. Download the spreadsheet version from your bank instead.
One column holding “£1,250.00 CR” rather than a number will not map. Split it, or use the template.
What Happens Next
Import complete confirms the count, and the transactions appear in To reconcile on that account. Any active bank rules run over them straight away, and anything they matched is offered to you for confirmation.
Import history a quarter at a time rather than three years at once. It is easier to spot a mis-mapped column in 90 rows than in 900.
Where the File Comes From
Every UK bank offers a statement download. Look for “export”, “download transactions” or “statements” in the account view, choose a spreadsheet format, and set the date range yourself rather than accepting the default month.
A landlord takes over records mid-year with nine months of history in a building society account that has no feed. Three imports one per quarter put the year in place in about ten minutes. Doing it in three passes means a mis-mapped column shows up in 90 rows, not 900.
Why the Mapping Step Exists
Banks do not agree on much. Some write one signed amount column, some write two. Some put the reference in the description, some in a separate field. The mapping step is where you tell RentalBux which of those shapes your bank chose, once.
On Duplicates
Re-importing an overlapping period is normal and safe: rows that look like transactions you already hold are flagged before anything is written, and you decide. The mistake to avoid is importing the same period twice without looking at the flags the figures double and the difference against the bank goes the wrong way.
Whole months, in order, checked in the preview. Three small habits that prevent the two problems that cause nearly every import support ticket: overlaps and gaps.